
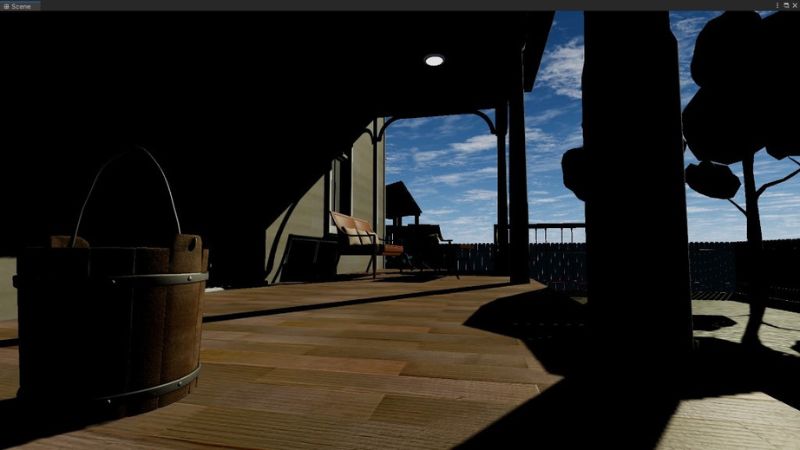

Baking lights in Unity doesn’t always yield the desired results. One common issue you might run into is objects in your level appearing darker than expected, sometimes even darker than they were before baking lights.
There are multiple reasons why this happens, but there are lighting-related steps you can take to mitigate it.
If you’re unsure of how to bake lights properly in Unity, watch the video below for a live demonstration.
Table of Contents
Incorrect Setup
Before you bake lights, ensure your level’s 3D models are properly set up.
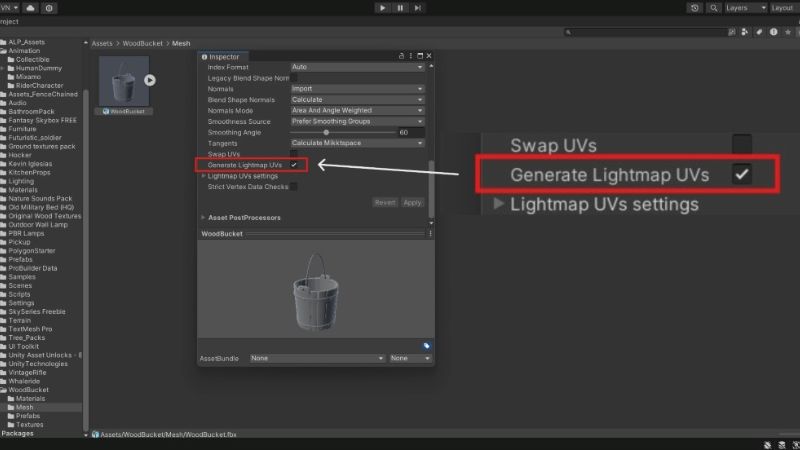
Each 3D model in the scene must have the Generate Lightmap UVs option checked. This ensures that it influences the lightmap that’s placed over the objects after baking.
Ensure the 3D model, after dragging it into the scene, thus making it a GameObject, has the Static checkbox checked in the Inspector window. Objects in a scene must be marked static to be included in the lighting calculations for direct and indirect lighting.
Ensure the Contribute Global Illumination checkbox is checked on the GameObject’s Light component so it’s part of the lighting calculations when baking lights.
The setup process is explained in further detail in the How to Bake Lights in Unity: A Step-by-Step Guide article.
Incomplete Light Baking
If, at any moment, you stop or cancel the light baking process, some objects in the scene will be dark because the lighting calculations are incomplete.
You’ll need to let the process run to completion so the lighting calculations are done for everything in the scene.
You might be tempted to interrupt the process because baking lights in Unity is taking too long, but there are settings you can adjust to improve the bake times.
Poorly Set Up Light Sources
Some objects in your game may still be dark after baking lights because the light intensity is too low or is at 0.
Try increasing the light intensity in the light source’s Intensity setting in the GameObject’s Light component and then bake the lights again. This setting is revealed by unfolding the Emission dropdown.
You should also ensure the light source’s Color setting is set to a bright color over a dark one that’s harder to see.
Some objects in your game’s level might be dark because the light is obstructed by other objects in the scene.
Move lights around to ensure the desired objects are lit up properly. Alternatively, you can move the objects blocking the light instead.
A common mistake that can result in dark objects is giving the light source a Range setting that ends at the edge of the area you want to light.
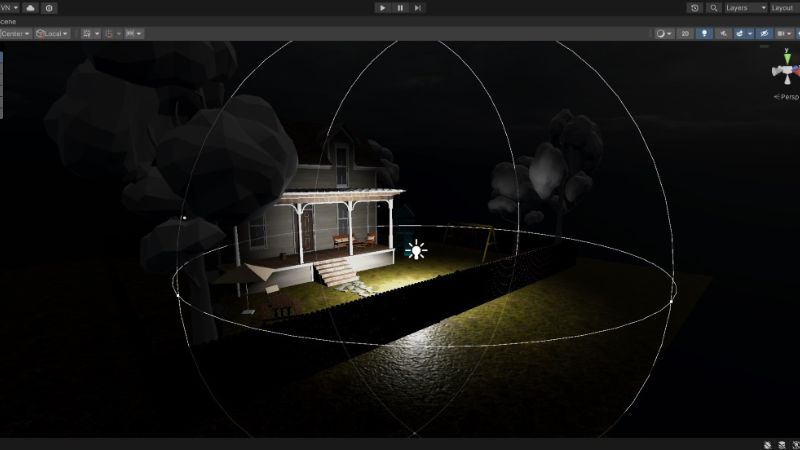
Light in the real world often travels beyond the area you want to light, so ensure to extend a light source’s range beyond the level’s boundaries to ensure it lights up each object sufficiently.
Lastly, ensure the Indirect Multiplier option in the GameObject’s Light component is set to any number greater than 0. This setting determines the intensity of indirect lighting in the scene.
Interested in making games in Unity? Become a patron on Patreon and gain access to cheat sheets, behind-the-scenes content, advanced scripting videos, and more.
Another common scenario is placing point lights inside light bulbs to light up a room. If done incorrectly, the level will still be dark, or there’ll be bright spots all over.
Watch the video below to learn how to correctly place point lights when working with bulbs or other small sources of light.
Incorrect Light Settings
The settings in the Lighting window determine how the light is baked, and the wrong settings can result in dark objects.
Ensure the Baked Global Illumination checkbox under the Mixed Lighting dropdown is checked.
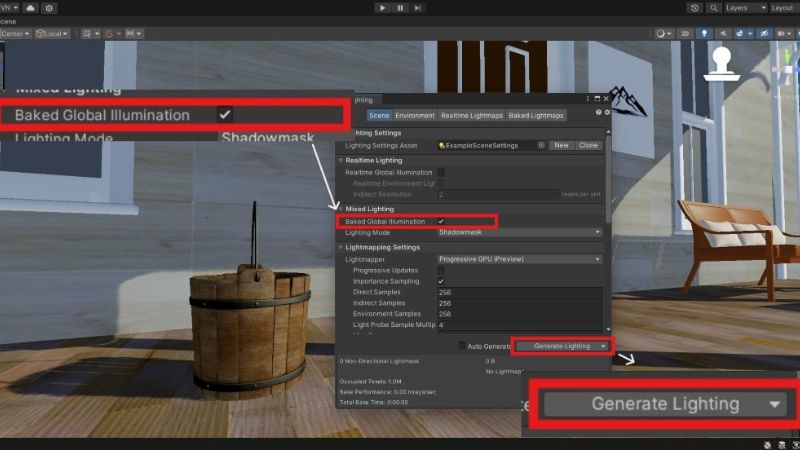
This setting determines if Mixed and Realtime lights will use baked Global Illumination, i.e., allows baking of light from both light types.
You’ll most likely use mixed lights in your Unity game, so always keep this setting checked.
Ensure the Direct Samples, Indirect Samples, Environmental Samples, and Max Bounces have a value of at least 1 or more.
These settings control the samples used in calculating lighting data and the number of times light bounces in the scene, respectively.
Tip: Hover over each setting’s name in the Lighting window, and a tooltip will pop up, explaining what it’s for.
Forgetting to Rebake Lights
If you move a Baked light type after baking lights to a dark area, the area will remain dark. Adding an Area light to a scene also doesn’t light up the level, regardless of its intensity.
This happens because the lighting data hasn’t been updated, and the only way to update it is to bake the lights again in the Lighting window.
Realtime and Mixed light types will update the lighting as you move the light sources around the scene, but the lighting may still appear off, and some objects might still be dark.
If constantly baking lights sounds tedious, you can check the Auto Generate box at the bottom of the Lighting window to bake lights every time lights are moved, added, or anything affecting lights in the scene happens.
Enabling this option may increase bake times, so use it with discretion.
Tip: You can restore the level to how it was before baking lights by clicking the arrow next to the Generate Lighting button and selecting Clear Baked Data.
In Closing
These are a few reasons why objects in your Unity game’s level might still be dark after baking lights, but if you’re still experiencing problems with lighting, the Unity Lights Troubleshooting Guide should help you even further.