
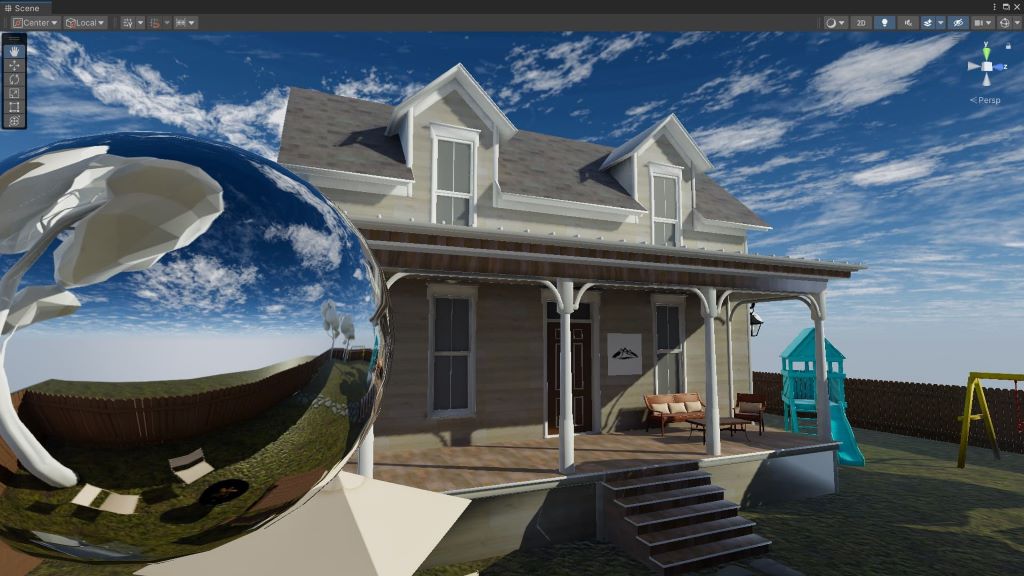

Reflections in Unity behave differently from reflections in the real world. Real-world reflections occur when light bounces off smooth, polished surfaces.
The Unity Game Engine simulates this behavior using reflection probes. A reflection probe is like a separate camera in the game, capturing snapshots of the environment and storing them in a cubemap.
A cubemap is like a hollow box, and the snapshots the reflection probe took are “pasted” on the inside faces of the box. There are six snapshots in total, one for each of the box’s faces.
Creating reflections in this way yields realistic reflections at a more affordable cost compared to calculating lighting data that more closely mimics real-world light behavior.
Reflection probes are part of baking lights, so if you’re unfamiliar with the light baking process, watch the video below for a live demonstration.
Table of Contents
How do you add reflection probes in Unity?
You can add reflection probes to your Unity game by clicking the “+” in the Hierarchy window -> Light -> Reflection Probe.
Tip: A reflection probe is merely an empty GameObject with a Reflection Probe component.
There are other ways to add reflection probes to a scene, but this method is the most convenient.
The reflection probe is surrounded by a cubed outline that determines the area in which reflections will be applied to objects.
If you can’t see the cubed outline, you’ll need to zoom out far enough in the Scene window, or enable gizmos if they’re disabled.
This cube can be adjusted in the Inspector window to make it bigger or smaller. You can also offset it on the x, y, and z axes.
Baking Reflection Probes in Unity
Reflection probes are set to Baked by default. This means the computations necessary to show reflections are done before the game runs.
Performing the reflection computations ahead of time saves on performance and frees up resources to handle other tasks when the game is running, such as using more detailed visual effects.
Shiny objects inside the reflection probe’s cube won’t show any reflections until you bake the reflection probe.
If you’re unfamiliar with baking light, Baking Lights in Unity: Everything You Need to Know to Get Started discusses it in more detail.
You’ll first need to mark any objects you want to show in a reflection as static, specifically Reflection Probe Static.
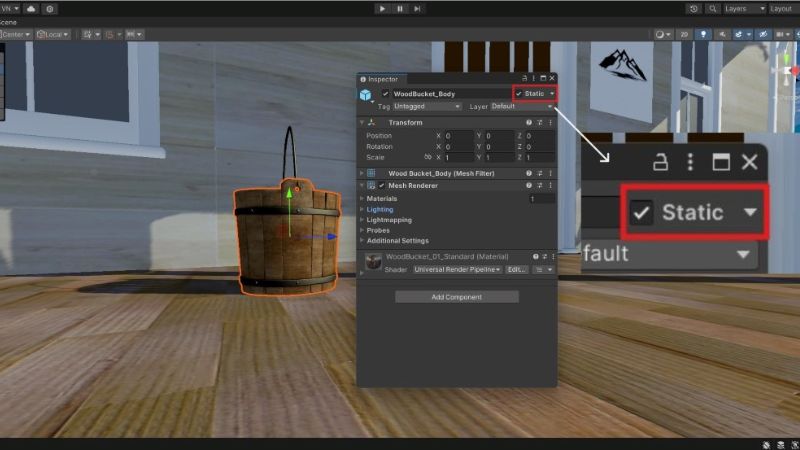
You can do this by selecting the GameObject and, in the Inspector window, checking the box next to Static.
Tip: If you only want the GameObject to be marked static solely for reflection probes, click the arrow next to the word Static and then click Reflection Probe Static.
Click the Bake button at the bottom of the Inspector window with the reflection probe selected to bake it.
If there are lights in your level and this is your first time baking, the lighting data for those lights will also be baked into a lightmap. Reflection probes work with lights, which is why any lights in the scene will also be baked.
Baking lights requires multiple steps, which are discussed in-depth in How to Bake Lights in Unity: A Step-by-Step Guide.
Once the baking process is complete, the smooth, polished objects in your level should show reflections on their surfaces.
Realtime Reflection Probes in Unity
Baked reflection probes don’t update reflections for moving objects in the Unity player.
If this proves to be a hindrance, you can set the reflection probe’s Type to Realtime to convert it to a realtime reflection probe. The workflow is the same for both probes, i.e., adding, resizing, or removing them.
You’ll mostly end up using baked reflection probes, but it’s worth knowing about realtime reflection probes as well.
Mirrors in Unity
Mirrors in video games aren’t as straightforward as adding reflection probes, Baked or Realtime, to a scene.
In fact, a former Grand Theft Auto: San Andreas and longtime Rockstar developer explained that due to video memory limitations on the PlayStation 2, he ended up rendering a mirrored version of the scene.
This approach had some unintended side effects, but it achieved its goal, making the most of the current hardware’s capabilities.
Small dynamic reflections on small objects, such as plates, in your Unity game may not be worth worrying about because the player will likely miss them.
However, if you want to add mirrors, you’ll need to be a little creative. Setting a reflection probe to Realtime won’t result in a mirror. Some of the environments may not even be shown in reflections at all.
Interested in making games in Unity? Become a patron on Patreon and gain access to cheat sheets, behind-the-scenes content, advanced scripting videos, and more.
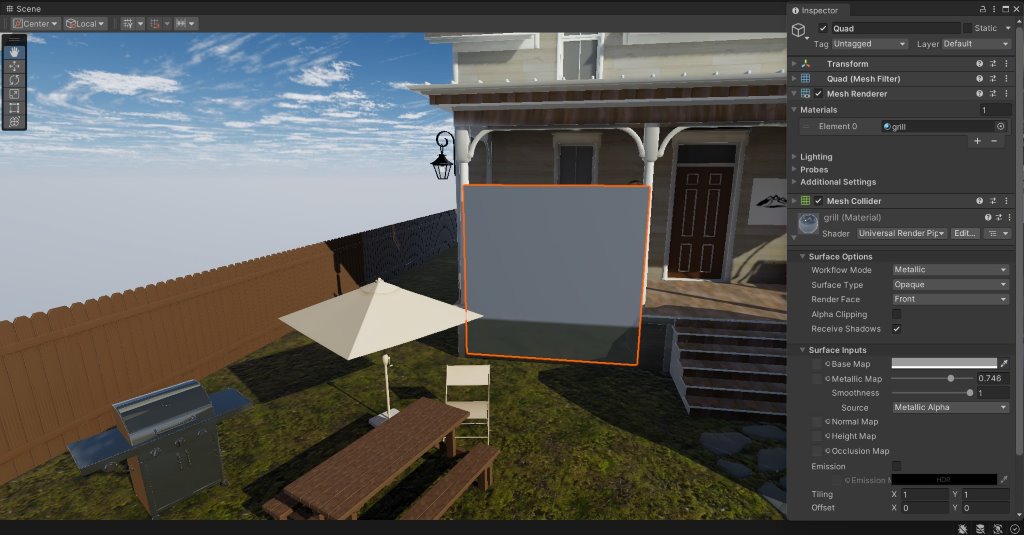
A better alternative would be to use a render texture, a second camera, and a Quad primitive object to display what the camera sees.
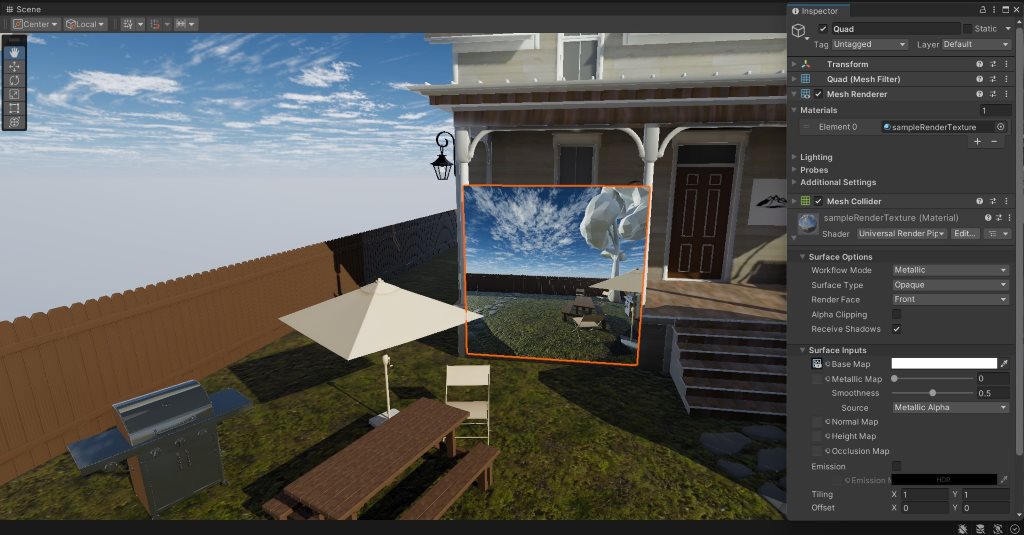
This approach also has some caveats. For example, rotating the Quad to face the player flips the display horizontally. The reflected umbrella in the image above should be to the left, not the right.
Objects too close to the “mirror” will also be much larger than they should be because objects closer to a camera’s lens are bigger.
Tip: Unity’s Oasis demo scene has an excellent showcase of reflections in water.
Reflection Probes Best Practices
-
Place fewer reflection probes in large, open areas where fewer objects will be shown in a reflection. One is often enough.
-
Adjust the reflection probe’s Box Size to include anything you want to show in a reflection.
-
Use baked reflection probes for simple, static reflections. They’re better for performance.
-
Higher resolutions can result in long bake times. Lower resolution values to bake reflection probes faster. This can also improve your Unity game’s performance.
-
Use the culling mask to prevent rendering insignificant objects, such as small rocks in the scene. This can also improve performance.
If you encounter problems using reflection probes in Unity, the Unity Lights Troubleshooting Guide should be of assistance.
Reflection Probe Resolutions
The following images provide a reference for how reflection probes render reflections at different resolutions.
I obtained the time it took to bake these reflection probes on a computer with the following specs:
-
GPU: NVIDIA GeForce GTX 1660, 6GB GDDR5 VRAM
-
CPU: Ryzen 5 2600
-
RAM: 16GB dual-channel
32-unit Resolution
A 32-unit resolution reflection probe creates simple reflections that look like smudged paint.
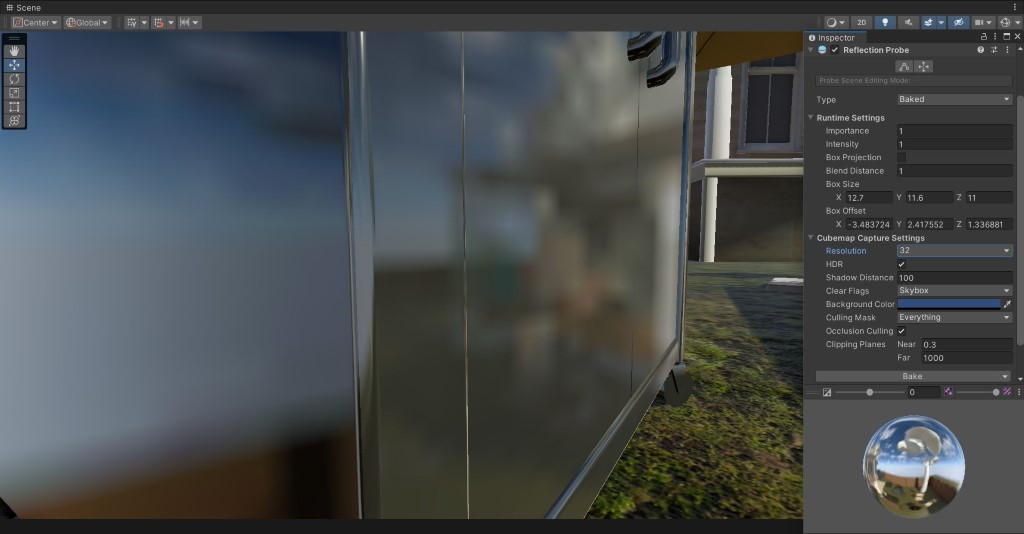
These are baked almost instantly.
You may have seen something similar in games made for the PlayStation 1, PlayStation 2, Xbox, and early 2000s PCs, where the hardware had significant limitations compared to recent consoles and computers.
256-unit Resolution
A 256-unit reflection probe creates more detailed reflections, with clearly visible large to medium-sized objects. Smaller objects are harder to make out.
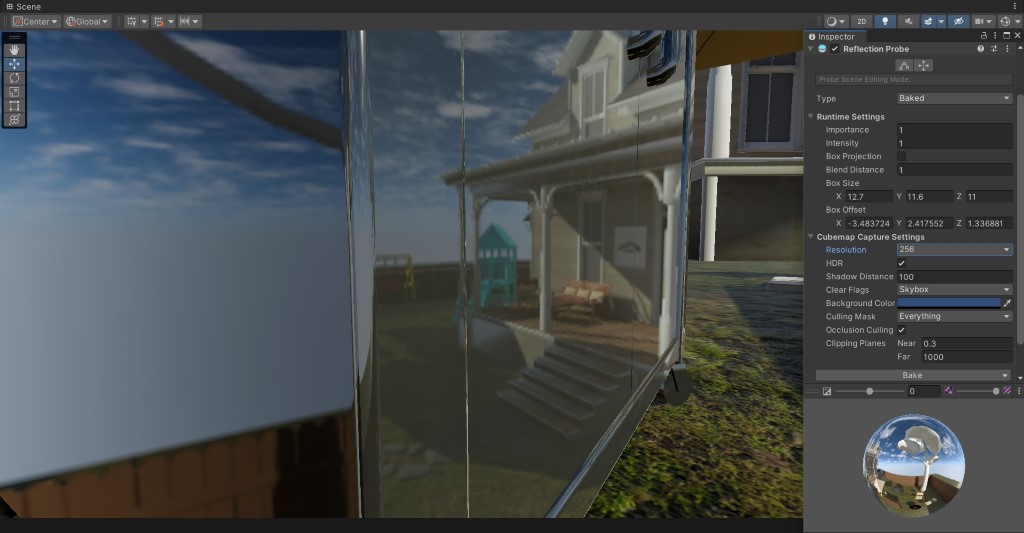
These are baked in about 3 seconds.
These reflections are more prevalent on the PlayStation 3, PlayStation 4, Xbox 360, Xbox One, and early 2010s PCs, where the hardware was capable of handling heavier loads.
1024-unit Resolution
A 1024-unit reflection probe creates highly detailed reflections where objects of all sizes are crystal clear.
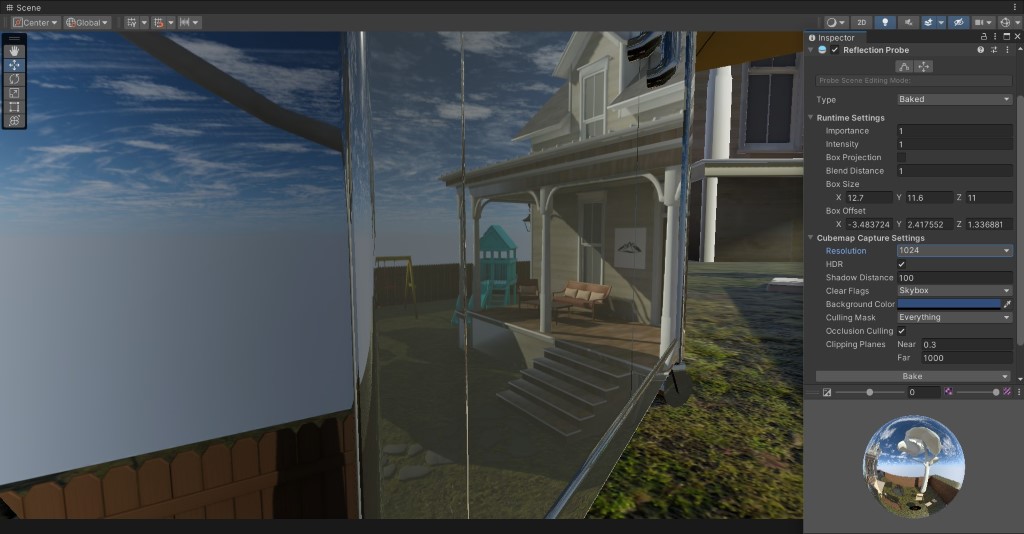
These bake in about 5 to 10 seconds.
Given their performance cost, such reflections are mostly found in devices with either high-end hardware or used in games that are well-optimized.
These devices include the PlayStation 4 Pro, PlayStation 5, Xbox One X, and mid to high-end PCs.
In Closing
Reflections, though not mandatory for a game, immerse the player deeper into the worlds you create when combined with proper lighting and level design.